Sunday, November 21, 2010

quidditch is for lovers.


So, as any self-respecting human should know, Harry Potter and the Deathly Hallows: Part 1 came out this weekend. And you bet your cornish pixies I was at the midnight showing with the thousands of other awesomely nerdy Potter followers. There were hundreds of Harry/Hermione/Dracos, even a Luna Lovegood and Rita Skeeter here and there, as well as nondescript Death Eaters and Hogwarts students. But the most creative costumes I saw included a female dressed as the Fat Lady (with huge picture frame, head wreath and all), and a pair of teenagers in shiny metallic get-ups. Right away I spotted the gold teen was a Snitch, but my housemates and I were baffled by the silver teen with the antlers. Then Gabrielle guessed that she was Harry's Patronus, a stag. AWESOME. I admire these folks and would not usually hesitate in joining them in full costume attire, but I decided to go the more subdued route. I set out to make some shirts that I would be proud to strut around in, not just at a Potter nerd fest, but any day of the week. I think I can confidently say I accomplished this task.

Supplies:
Acrylic paint + fabric medium*
Sponge stencil brushes
X-acto knife
Freezer paper
Stencil or graphic printout
Shirt

*You can purchase fabric paint as an alternative to the above combination, but the color selection is very limited with fabric paint.


Step 1. Trace your text or design onto freezer paper. Be sure to trace on the matte side. Using an x-acto knife, cut out your design. You now have your stencil.

Step 2. Lay your shirt out on a flat surface, preferably an ironing board. Place your stencil, shiny side down, on your shirt. Carefully iron on your stencil, leaving out the strips for letters like "P" and "R." Since freezer paper typically curls, it is best to wait until the main stencil is ironed down and then position and iron on the little strips second so that you end up with cleaner lines.


Step 3. Mix equal parts of acrylic paint and fabric medium. Then stencil away! Make sure you have either a piece of cardboard or an old magazine in between the front and back of your shirt. If you don't, the paint will most likely seep through to the other side.

I wanted a more vintage and old-school-varsity look for my shirts, so I only applied a light layer of paint. But if you want a more saturated look, you can reapply your paint a few times. But let your paint dry at least halfway before reapplying to protect the seal on your freezer paper.


Step 4. Wait patiently for the paint to dry completely before peeling off the stencil. This is the magical step - I always get so excited for the revealing! Sometimes, pieces of paper are stubborn and don't easily come off. Just be patient and slowly pick away at it; it should come off eventually.


Step 5. Admire your handiwork. And wear it proudly. Like Sam. :)


It might be a good idea to try your shirt on and make a couple of pencil marks or use pins to outline where you want your stencil to be. This way you can be sure you don't accidentally put the design too high or too low on the shirt. I may or may not have run into this problem. :)

And here's my two sentence review of DH: Part 1 - HARRY FREAKIN' POTTER was sooooooo good! Except for the completely unnecessary naked make out sesh, everything about that movie was incredibly well done. :)

Tuesday, November 16, 2010

a beautiful story.

Stop motion is probably one of the greatest artistic ideas...EVER. Especially when creative geniuses take a stab at it. Like this video below.


Beautiful, beautiful piece. I wish I could pull a Mary Poppins and jump into those pages and stay there forever. Maybe one day I'll get enough creative energy to attempt my own mini stop motion feature.

Wednesday, October 27, 2010

sushi time


My taste buds are a-changin'. I never would have admitted to liking sushi a few years ago. Seaweed? Eugh. But along with now having new cravings for PB&J all the time (I know - shock, right? I used to HATE jam/jelly), sushi has found its way into my life. And who knew how easy it is to make? It's also way easier on the pocket than buying it prepared. My sushi included carrot, bell pepper, avocado, and sprouts. Mmm mm. Add edamame as a side and mochi for dessert, it is a wonderful and light dinner meal.

See my favorite magazine's website for more details and an ingredient list.

Tuesday, October 26, 2010

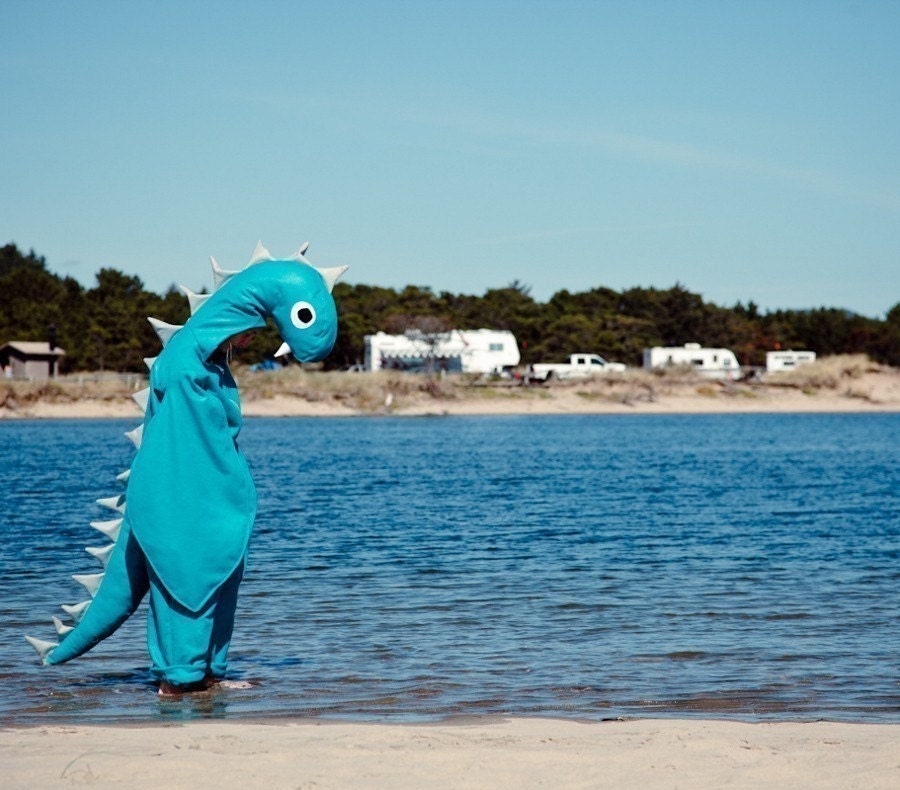
nessie

I swear I will put up a craft/baking post up soon, but in the meantime...

Check out this etsy shop. Best thing ever.


Her shop announcement: "My ultimate mission is to have everyone in the world dressed like a monster at all times."
And she lives in Portland. I want to be her friend.

Thursday, October 21, 2010

the meatrix

Finally a video about the harsh realities of the meat industry that doesn't look like it's been monopolized by PETA. Although it's a bit cheesy, it's worth watching.


My bottom line: you don't have to be a vegetarian to "save the world." It definitely helps, but if meat is a must for you, be informed about what you're eating, know where your food comes from, who is producing it, and what your money is supporting. We should all be striving for health and nourishment in our diets. Both for our own bodies and for the earth.

Although -- score for the veggie team: Going veg for one year "cancels out" the amount of carbon that two average Americans generate in a year. If you go vegan, it's almost fourfold. I'm just saying.

Go here for another blogger's reasons for going veg(an) and part two of "The Meatrix."

woodland dreams

This post has nothing to do with being crafty or being green. But I had to share how positively smitten I am over this masterpiece.


What i would give to have dreams in a bed like this. It even has snow falling! Magical, I tell you.
If only it didn't cost over $5,000. Anthropologie, you are such a tease.

Monday, October 11, 2010

ch-ch-ch-chickpea tacos


I have something to confess. I am a vegetarian. And I'm damn proud of it. It's been about a year since I committed to this lifestyle and it's probably the best decision I've ever made. The main reason I made the switch was to help the environment out a little. I know, most people become vegetarians to save the animals - and that is a small part of the equation - but being a veghead is so good for the earth! Did you know that meat production is responsible for 20 percent of greenhouse gases produced each year? It's true. I got a whole pocketful of other veggie trivia that I might bust out when you least expect it. 

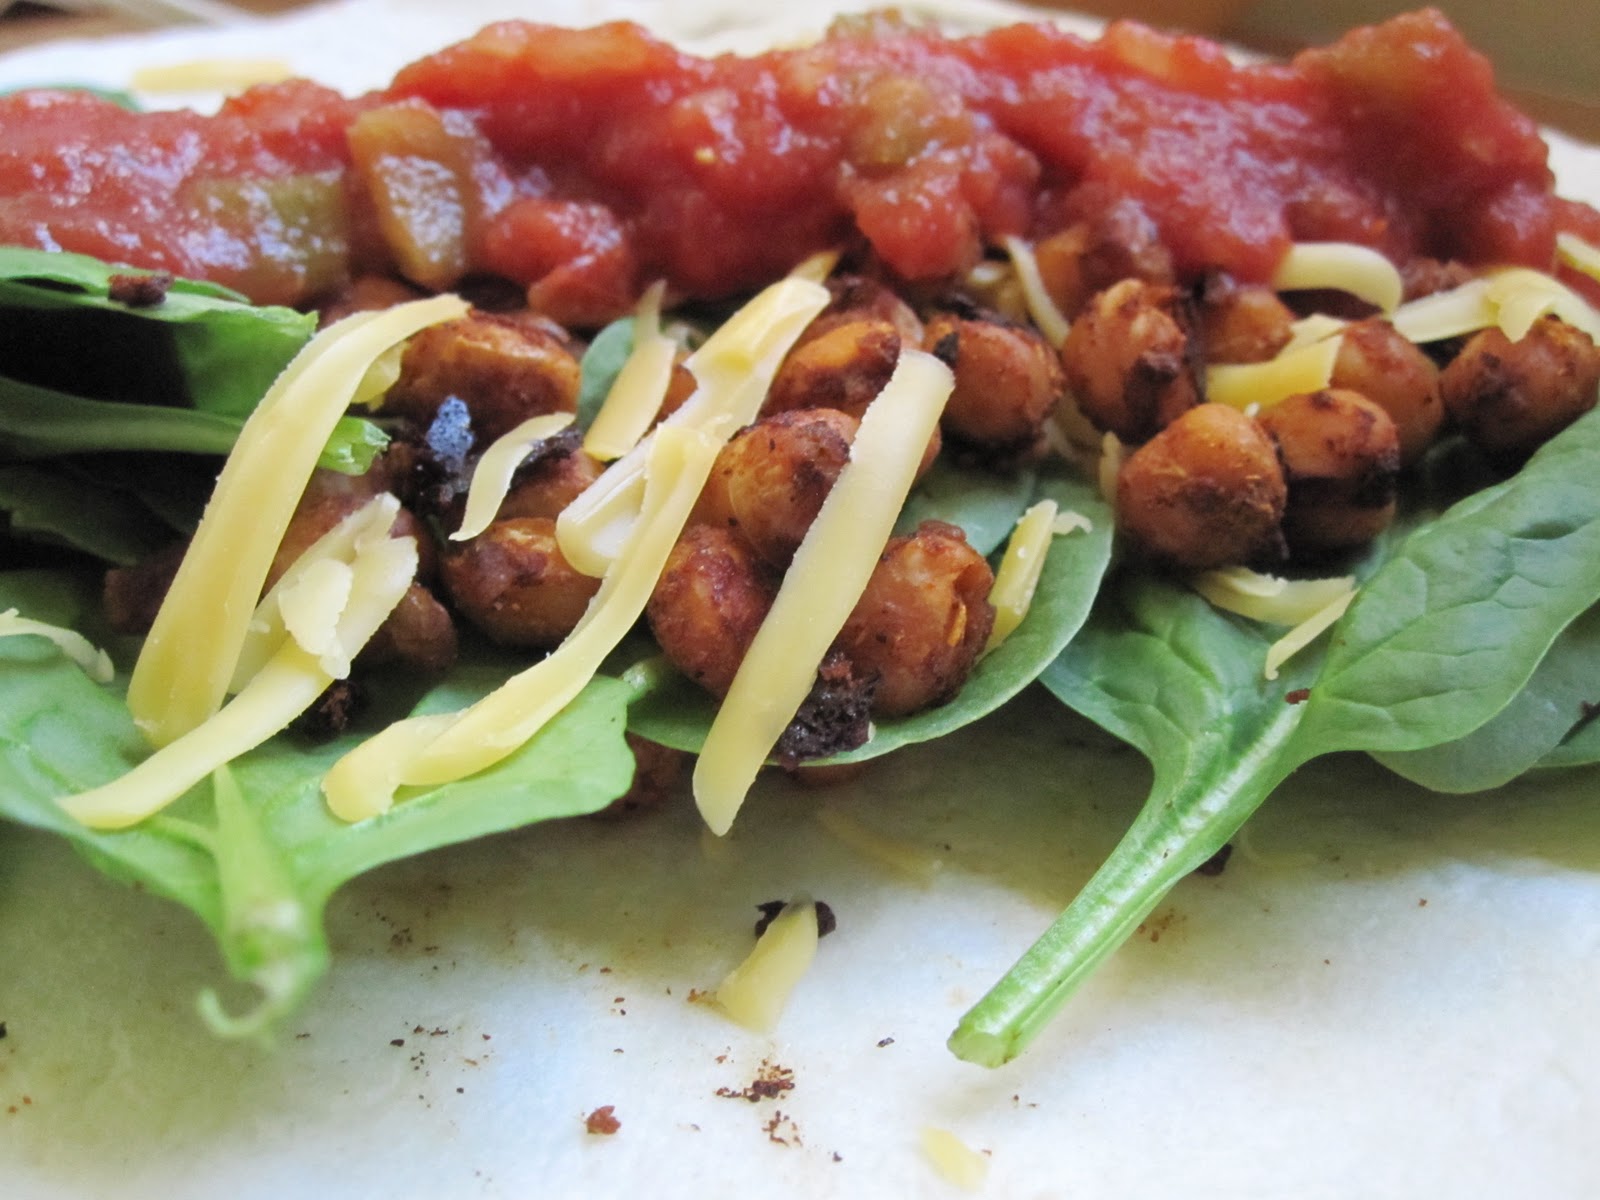
Also, I just feel healthier and it's extremely fun to cook now. I get a chance to spread my creativity to the kitchen and I have enjoyed researching this whole new world of recipes to try out. Like this recipe I found on Happy Herbivore. Chickpea tacos = YUM. It's so easy to make too. 

1 15 oz can of chickpeas, drained & rinsed
1 tbsp tamari soy sauce
2 tsp lemon juice
1/2 packet of taco seasoning, or make your own
8 hard taco shells or small tortillas
Taco toppings

Preheat oven to 400 F. Whisk tamari, lemon juice, and taco seasoning in medium bowl. Toss in chickpeas until coated. Place chickpeas on lightly oiled cookie sheet and bake 20-25 minutes. Assemble tacos with chickpeas, lettuce, tomatoes (or salsa), cheese, and enjoy.